
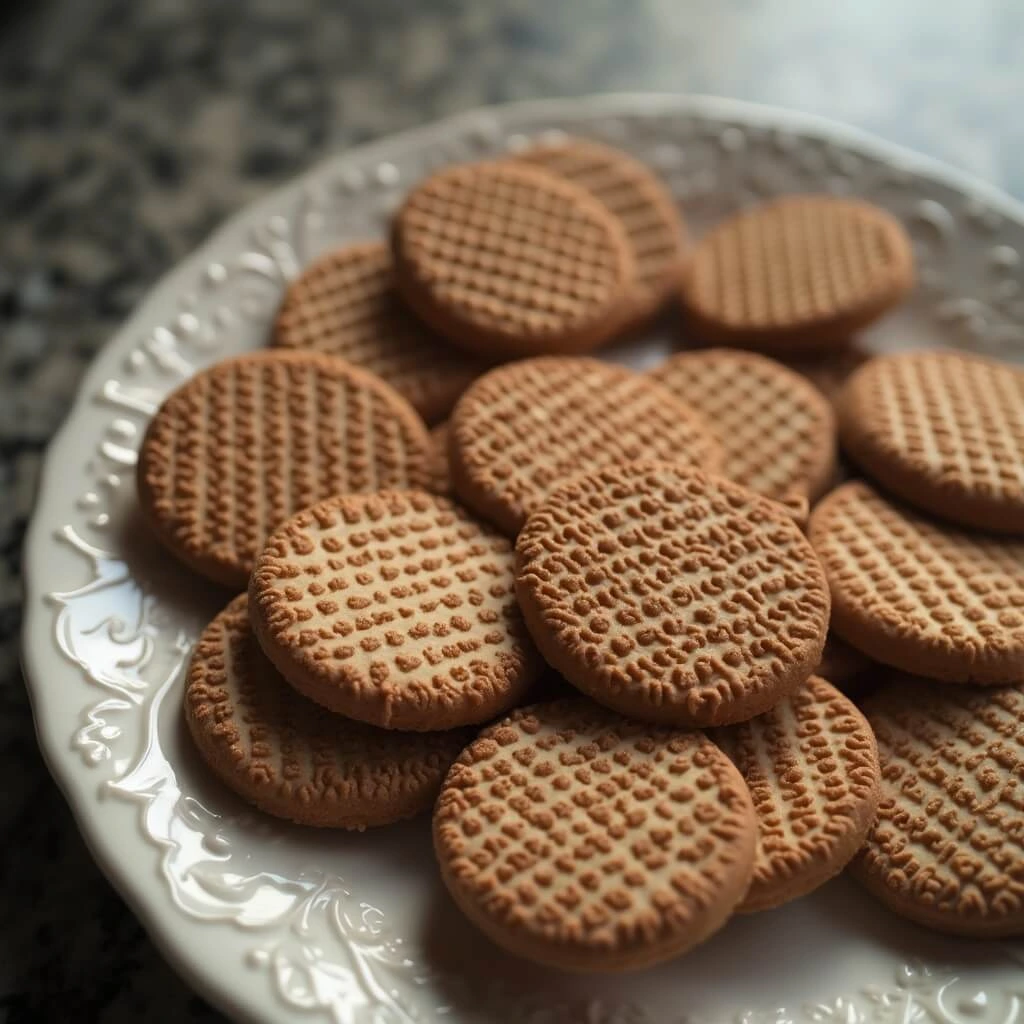
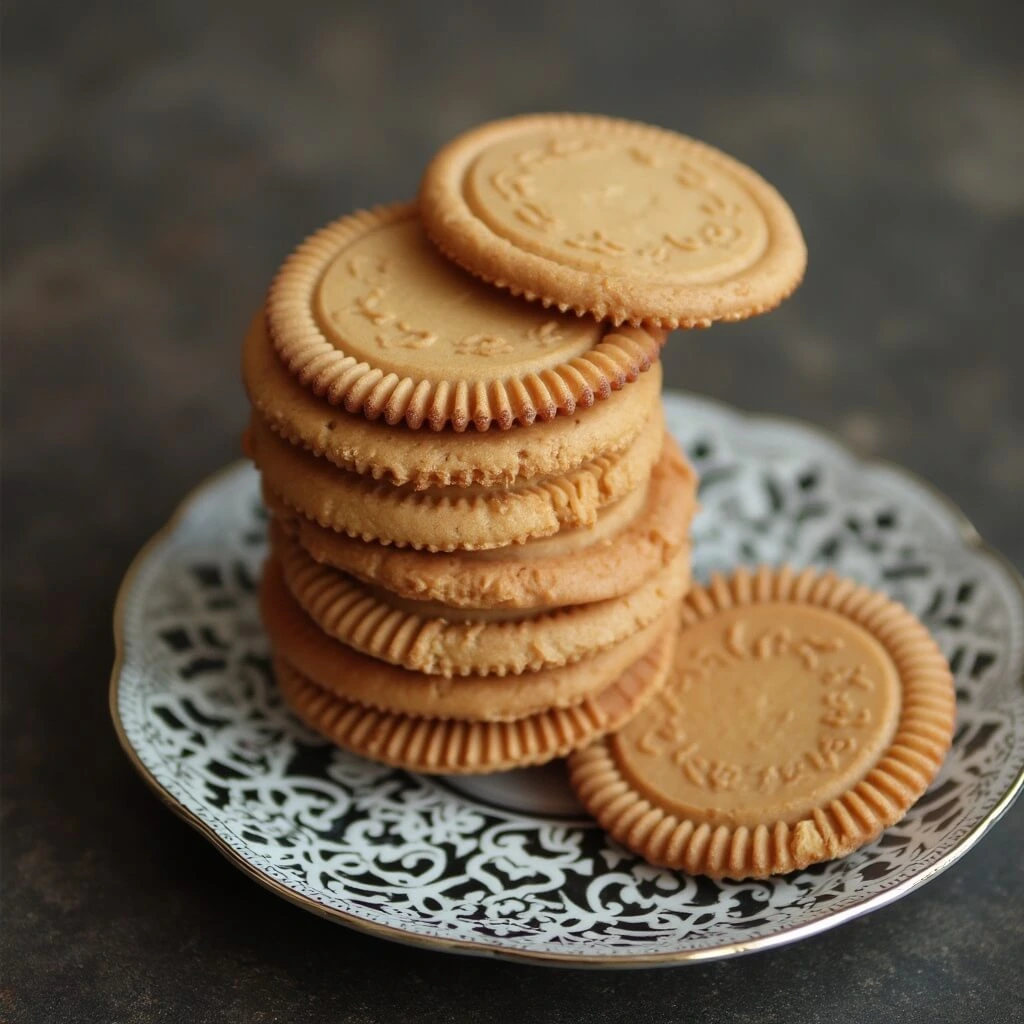
Wafer cookies are the perfect blend of light, crispy texture and sweet, delicate flavor – a timeless treat loved by people of all ages. Whether you enjoy them plain, dipped in chocolate, or layered with cream, wafer cookies offer endless possibilities for indulgent desserts and snacks. Their versatility makes them ideal for quick treats, elegant party platters, or even as a crunchy addition to ice cream and cakes.
In this post, we’re sharing 10 irresistible wafer cookie recipes that are easy to make and guaranteed to satisfy your sweet tooth. From classic vanilla to festive holiday-themed creations, these recipes will inspire you to transform simple wafer cookies into something truly special. Let’s dive in and discover how to bring these delightful crispy treats to life in your own kitchen!
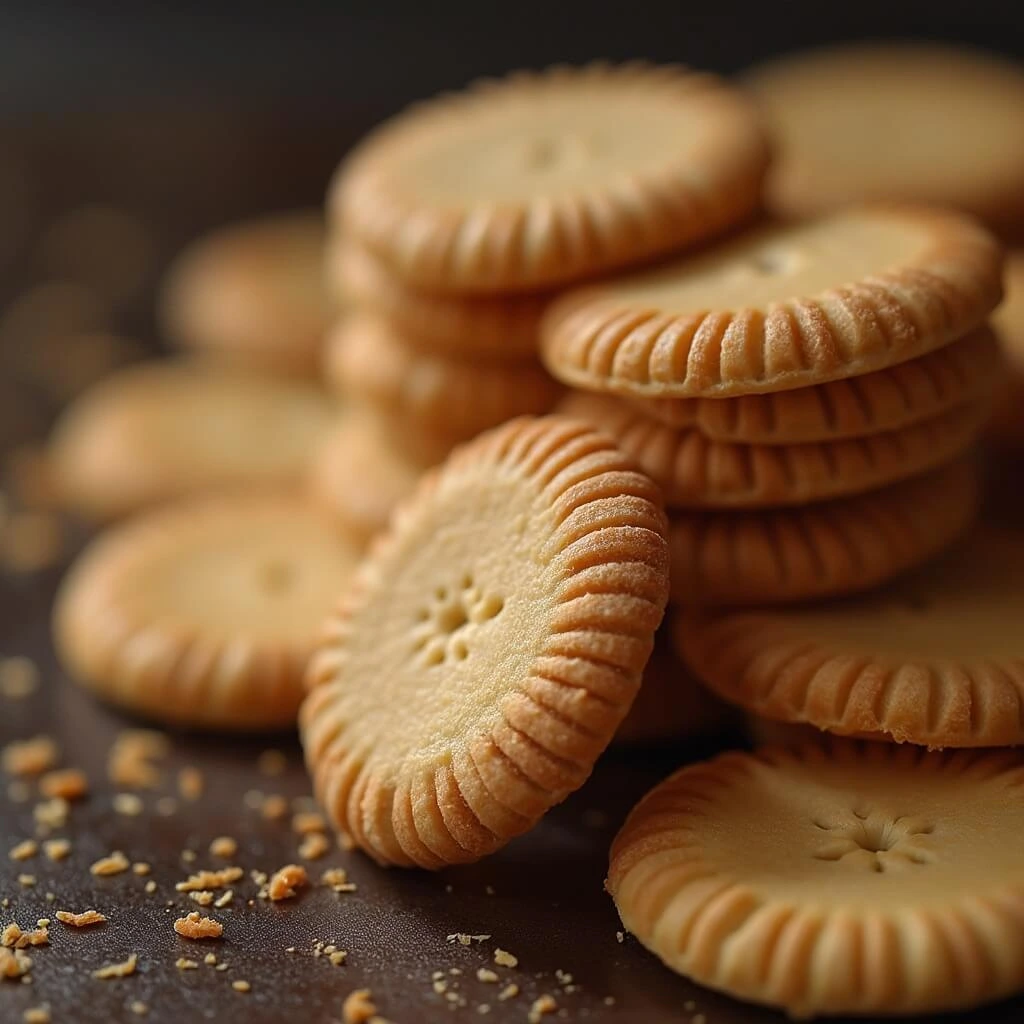
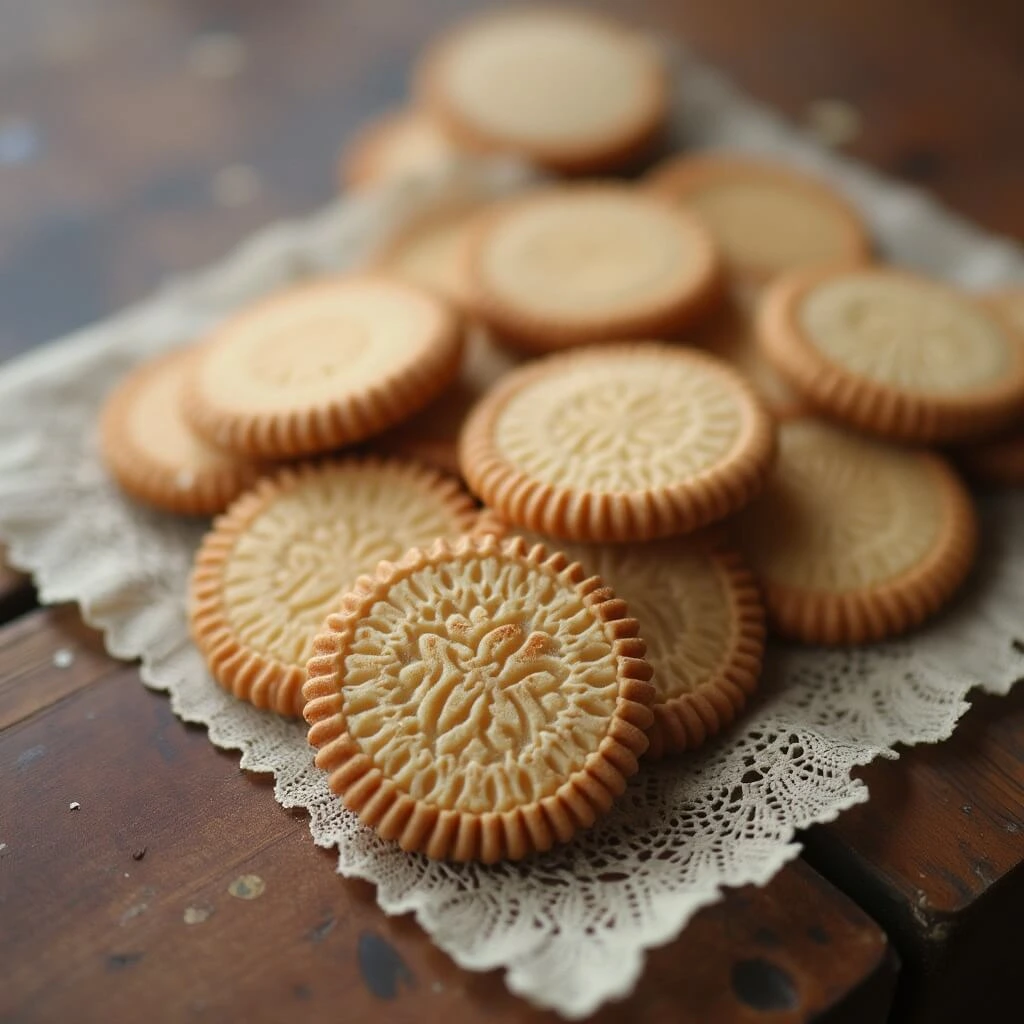
Classic Vanilla Wafer Cookies Recipe
Wafer cookies are known for their light, crispy texture, and nothing highlights their simplicity better than a classic vanilla version. This recipe is perfect for beginners or anyone craving a delicate, sweet treat with minimal ingredients. With a touch of vanilla and a crisp bite, these cookies pair wonderfully with coffee, tea, or even as a base for layered desserts.
Ingredients and Tools Needed:
To make these classic vanilla wafer cookies, you’ll need basic baking ingredients that are likely already in your pantry. Here’s what you’ll need:
- Ingredients:
- 1 cup all-purpose flour
- ½ cup granulated sugar
- ½ cup unsalted butter (softened)
- 1 large egg
- 1 tsp pure vanilla extract
- ¼ tsp salt
- ½ tsp baking powder
- 2 tbsp milk (optional, for a smoother dough)
- Tools:
- Mixing bowl
- Electric mixer or whisk
- Piping bag (for thinner wafers)
- Baking sheet
- Parchment paper
Step-by-Step Instructions:
- Preheat and Prepare – Preheat your oven to 350°F (175°C). Line a baking sheet with parchment paper to prevent sticking and ensure even baking.
- Cream Butter and Sugar – In a large bowl, cream the softened butter and sugar together until light and fluffy. This step is crucial for achieving a delicate, airy texture.
- Add Wet Ingredients – Beat in the egg and vanilla extract until well combined. If the mixture looks a bit thick, add a tablespoon of milk to loosen it slightly.
- Incorporate Dry Ingredients – In a separate bowl, whisk together the flour, baking powder, and salt. Gradually add the dry mixture to the wet ingredients, stirring until a smooth dough forms.
- Shape the Cookies – For thin, uniform wafers, use a piping bag to pipe small rounds onto the baking sheet, leaving space for spreading. Alternatively, spoon small amounts of dough and flatten slightly with the back of the spoon.
- Bake to Perfection – Bake for 10-12 minutes or until the edges turn golden brown. Keep a close eye during the final minutes to avoid over-baking.
- Cool and Serve – Allow the cookies to cool on the baking sheet for a few minutes before transferring them to a wire rack. This helps them firm up and achieve that perfect crisp.
Tips for Extra Crispiness:
- Thin Dough – The thinner you spread the dough, the crispier the wafer cookies will be.
- Even Spacing – Leave enough space between cookies to allow them to spread and bake evenly.
- Longer Bake Time – For an even crisper cookie, leave them in the oven for an extra minute or two, but watch carefully to prevent burning.
- Storage – Store the cooled wafers in an airtight container to maintain their crispness for up to a week.
Pairing Suggestions:
These vanilla wafer cookies are delicious on their own but can also be:
- Dipped in melted chocolate for added richness.
- Crumbled over ice cream or yogurt for a crunchy topping.
- Layered with whipped cream and berries for an elegant dessert.
This classic vanilla wafer cookie recipe is a must-try for any baking enthusiast. It’s simple, versatile, and guaranteed to be a hit with family and friends!
Chocolate-Dipped Wafer Cookies
Chocolate-dipped wafer cookies are a delightful combination of crisp, airy wafers and rich, velvety chocolate. This simple yet indulgent treat is perfect for holiday platters, parties, or as a luxurious everyday snack. The balance of textures and flavors makes these cookies irresistible, and the dipping process adds a fun, creative twist to classic wafer cookies.
Why Chocolate and Wafer is a Perfect Pair:
The light, crunchy texture of wafer cookies complements the smooth, decadent flavor of chocolate beautifully. The contrast in textures creates a satisfying bite, while the subtle sweetness of the wafer balances out the richness of the chocolate. This combination is popular in many store-bought confections, but making them at home adds a personal touch and allows for endless flavor customization.
How to Melt and Dip Wafer Cookies Properly:
Ingredients:
- 1 batch of classic wafer cookies (store-bought or homemade)
- 1 cup high-quality chocolate (dark, milk, or white)
- 1 tbsp coconut oil or butter (optional, for smoother dipping)
- Sprinkles, crushed nuts, or shredded coconut (for decoration)
Tools:
- Double boiler or microwave-safe bowl
- Baking sheet lined with parchment paper
- Fork or tongs for dipping
- Cooling rack
Step-by-Step Instructions:
- Prepare the Chocolate – Chop the chocolate into small pieces for even melting. Place the chocolate in a heatproof bowl.
- Melt the Chocolate –
- Double Boiler Method: Place the bowl over a pot of simmering water (without the bowl touching the water). Stir continuously until the chocolate melts completely.
- Microwave Method: Heat the chocolate in 20-second intervals, stirring between each interval until fully melted. Add a tablespoon of coconut oil or butter to achieve a glossy, smooth finish.
- Dip the Wafers – Hold each wafer cookie by one end and dip halfway into the melted chocolate. Let any excess drip off to avoid uneven coatings.
- Decorate – While the chocolate is still wet, sprinkle toppings such as crushed nuts, sprinkles, or coconut over the dipped section for added texture and flavor.
- Cool and Set – Place the dipped cookies on a parchment-lined baking sheet or cooling rack. Let them sit at room temperature or refrigerate for 15-20 minutes until the chocolate hardens.
Decorating with Sprinkles or Nuts for Extra Flavor:
- Holiday Vibes: Use red and green sprinkles for Christmas, or pastel colors for Easter.
- Nutty Delight: Crushed almonds, pistachios, or hazelnuts add a delicious crunch and flavor depth.
- Tropical Twist: Shredded coconut pairs wonderfully with white chocolate, giving a light, tropical flair.
- Gourmet Touch: Drizzle contrasting chocolate (white over dark, or vice versa) for a more sophisticated design.
Tips for Best Results:
- Quality Matters: Use high-quality chocolate for the best flavor and smooth texture. Avoid chocolate chips, as they contain stabilizers that make melting tricky.
- Room Temperature Wafers: Ensure the wafer cookies are at room temperature before dipping to prevent the chocolate from hardening too quickly.
- Thin Coating: Dip lightly to avoid overpowering the delicate texture of the wafers.
- Storage: Store the chocolate-dipped wafer cookies in an airtight container in a cool, dry place. They can last up to a week, but are best enjoyed fresh!
Pairing and Serving Suggestions:
- Serve alongside hot coffee, espresso, or tea for a delightful afternoon treat.
- Pair with ice cream or gelato as a crunchy garnish.
- Pack in decorative tins for homemade gifts or party favors.
Chocolate-dipped wafer cookies are a simple yet elegant dessert that can be customized to fit any occasion. Whether you’re preparing them for a holiday or just treating yourself, these cookies are guaranteed to impress!
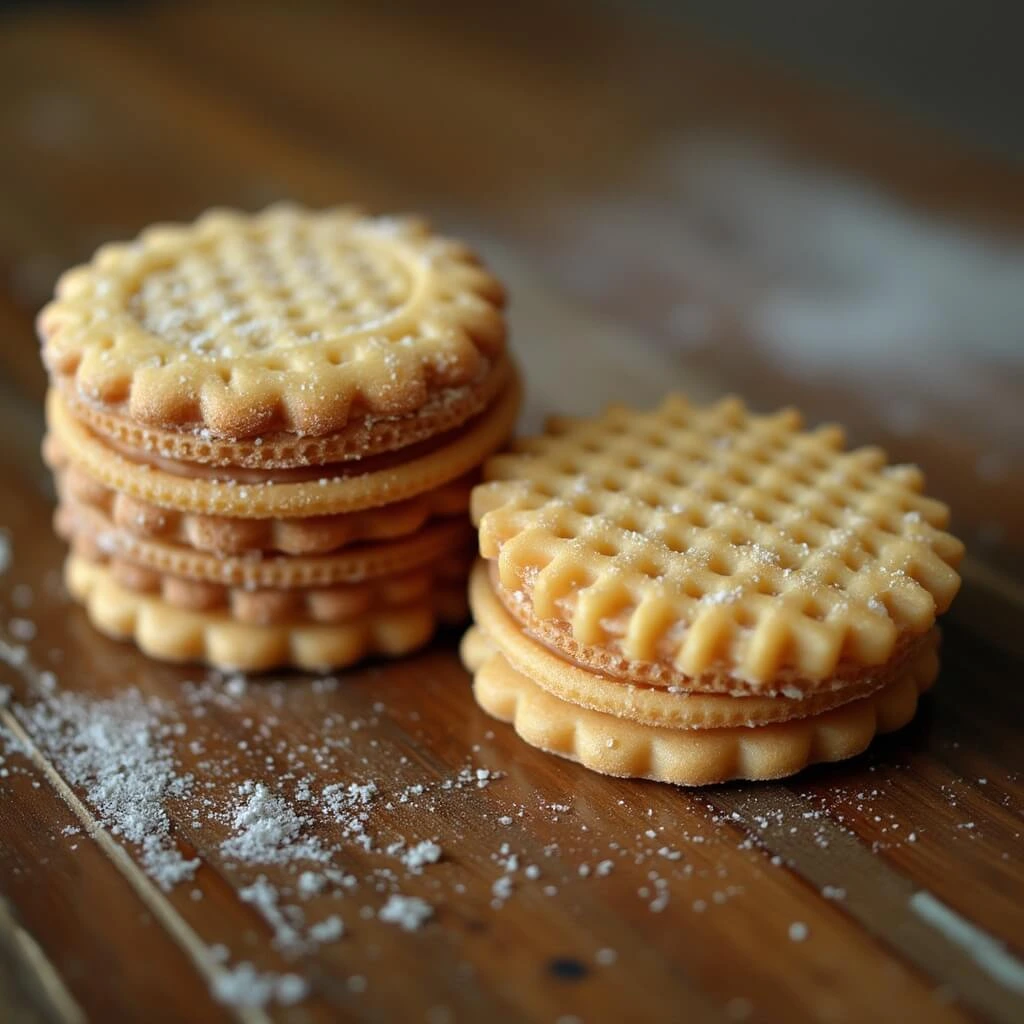
No-Bake Wafer Cookies with Cream Filling
No-bake wafer cookies with cream filling are the ultimate quick and easy dessert. With minimal effort and no need for an oven, you can create a delightful, layered treat that’s perfect for parties, afternoon snacks, or satisfying your sweet cravings on the go. The combination of crispy wafer cookies and smooth, creamy filling makes for a melt-in-your-mouth experience that’s both light and indulgent.
Quick and Easy Dessert for Parties:
These no-bake wafer cookies are not only simple to make but also versatile. You can whip up a batch in minutes, making them ideal for last-minute guests or as a fun activity with kids. Plus, the layered, elegant appearance makes them look far more sophisticated than the effort required to create them.
Ingredients (Butter, Cream, Sugar):
Here’s what you’ll need to make these delicious treats:
For the Cream Filling:
- 1 cup heavy whipping cream
- 3 tbsp powdered sugar
- 1 tsp vanilla extract
- ½ cup cream cheese (optional for added richness)
For the Layers:
- 1 box of plain wafer cookies (store-bought or homemade)
- Melted chocolate (optional, for drizzling)
- Fresh berries or fruit slices (optional, for garnish)
Step-by-Step Instructions:
- Prepare the Cream Filling:
- In a large mixing bowl, combine the heavy whipping cream, powdered sugar, and vanilla extract.
- Whip the mixture with an electric mixer on medium-high speed until soft peaks form. If you prefer a denser filling, add cream cheese and continue to whip until smooth and fluffy.
- Assemble the Layers:
- Lay out the wafer cookies on a flat surface or tray. Spread a generous layer of the whipped cream mixture on top of one wafer.
- Place another wafer cookie on top, gently pressing down to create a sandwich. Repeat this process to create multiple layers, similar to a cake.
- For a taller dessert, stack up to 3-4 layers, but keep in mind that more layers may require chilling to stabilize.
- Chill and Set:
- Place the assembled wafer cookies in the refrigerator for 1-2 hours. This allows the cream filling to set and soak slightly into the wafers, softening them just enough for a luscious bite.
- Finishing Touches:
- Drizzle melted chocolate over the top for an extra indulgent finish. Garnish with fresh berries, mint leaves, or a dusting of cocoa powder for added elegance.
Layering Techniques for a Perfect Finish:
- Single-Layer Sandwiches: Keep it simple with two wafers and one cream layer. This works well for individual servings.
- Multi-Layer Stack: For a cake-like effect, alternate between wafer cookies and cream filling, stacking up to five layers. Slice into squares to serve.
- Mini Bites: Break wafers into smaller pieces and create bite-sized cream sandwiches – perfect for parties or snack platters.
Tips for Extra Flavor:
- Flavor Variations: Add a spoonful of cocoa powder to the whipped cream for a chocolate filling, or mix in fruit puree for a fruity twist.
- Nutty Addition: Spread a thin layer of hazelnut spread or peanut butter before adding the cream for an added layer of flavor.
- Citrus Zest: Add a touch of lemon or orange zest to the filling for a refreshing, tangy note.
Why You’ll Love This Recipe:
- No Baking Required: Perfect for hot days when you don’t want to turn on the oven.
- Customizable: Swap out flavors, add layers, or incorporate fruits to suit your taste.
- Elegant but Easy: Despite their simplicity, these no-bake wafer cookies look impressive and taste divine.
Serving Suggestions:
- Serve chilled with a side of fresh fruit.
- Pair with coffee or tea for a light afternoon snack.
- Present as mini desserts at gatherings, weddings, or birthday parties.
No-bake wafer cookies with cream filling are the perfect blend of simplicity and indulgence. Whether you’re entertaining guests or simply treating yourself, this easy dessert is sure to be a crowd-pleaser!
Holiday-Themed Wafer Cookies
Wafer cookies aren’t just a treat for everyday snacking – they can also be transformed into festive, holiday-themed desserts that add a special touch to any celebration. Whether you’re baking for Christmas, Easter, or a birthday party, decorating wafer cookies with seasonal colors, sprinkles, and toppings can elevate them into a memorable sweet treat. In this section, we’ll show you how to take simple wafer cookies and turn them into the perfect holiday indulgence.
Christmas and Holiday Decorated Wafers:
Wafer cookies are an excellent base for creating themed desserts, especially around the holidays. Their light, crisp texture makes them ideal for pairing with vibrant, colorful decorations. You can use them to create everything from elegant cookie platters to fun, kid-friendly treats. The best part? You can get as creative as you want with the toppings!
Colorful Icing and Festive Sprinkles:
For the holidays, the decorations make all the difference. Here are some ideas to transform your wafer cookies into holiday masterpieces:
- Christmas Decor:
- Red and Green Icing – Use royal icing or melted chocolate in vibrant red and green shades to create beautiful patterns, such as holly leaves, snowflakes, or simple stripes.
- Sprinkles & Edible Glitter – Add a touch of sparkle with gold or silver edible glitter, or use festive sprinkles like snowmen, reindeer, or candy canes to create playful designs.
- Peppermint Toppings – Crushed peppermint candies add a minty flavor that pairs perfectly with chocolate or vanilla wafers.
- Easter and Spring Celebrations:
- Pastel Colors – Light pastel-colored icing like pale pink, blue, and yellow can be used to create delicate flowers, Easter eggs, or bunny designs.
- Sugar Crystals – Add a little shine with colored sugar crystals to create a sparkling effect. These are great for mimicking the look of a spring morning frost.
- Fruit Decorations – For a refreshing twist, add small candied fruits or dried edible flowers to your decorated wafer cookies.
- Halloween and Fall Themes:
- Orange and Black Icing – For Halloween, use orange, black, and purple icing to create spooky designs like pumpkins, bats, and ghosts.
- Cinnamon & Spice – Sprinkle cinnamon or nutmeg on top for a warm, fall-inspired flavor that complements the light wafer texture.
Kid-Friendly Cookie Decoration Ideas:
Holiday-themed wafer cookies are a fantastic way to get kids involved in the kitchen. The simple assembly process and colorful decorations make them fun and accessible for children of all ages. Here are some kid-friendly decorating ideas:
- Cookie Decorating Kits:
Put together small decorating kits with icing bags, colorful sprinkles, chocolate chips, and small candy pieces. This allows kids to express their creativity while keeping the process organized. - Simple Designs:
Use cookie stamps or stencils to help kids create fun shapes like stars, hearts, or snowflakes without needing precise piping skills. - Personalized Cookies:
Let kids decorate their own cookies by adding their names, initials, or simple patterns. You can even use alphabet sprinkles or colored icing to create a personalized touch.
Tips for Perfect Holiday-Themed Wafer Cookies:
- Pre-Make Icing and Decorations:
Prepare your icing in advance so it’s ready for decorating. Use piping bags with different tips to make intricate designs, or simple squeeze bottles for larger patterns. - Chill the Cookies:
After decorating, place the cookies in the fridge for a few minutes to allow the icing and chocolate to set. This helps prevent smudging and ensures the decorations stay in place. - Layer for Extra Elegance:
Create multi-layered holiday wafer cookies with icing and cream filling. Stack two or three wafer cookies with a generous layer of holiday-colored icing between them to make a festive, layered treat.
Creative Presentation Ideas:
- Holiday Cookie Platters:
Arrange your decorated wafer cookies on a platter, alternating with other holiday-themed treats like gingerbread, chocolate truffles, or mini fruit tarts. - Gift Boxes:
Holiday-themed wafer cookies make wonderful gifts. Pack them in clear cellophane bags or gift boxes tied with a festive ribbon. Add a personalized tag for that extra thoughtful touch. - Cookie Pops:
Stick a lollipop stick into each wafer cookie to create cookie pops, making them perfect for party favors or a fun dessert centerpiece.
Why You’ll Love These Holiday-Themed Wafer Cookies:
- Easy to Make: The simple nature of wafer cookies means even beginner bakers can create festive treats with minimal effort.
- Versatile and Customizable: The flavor and decoration options are endless, allowing you to tailor them to any holiday or celebration.
- Perfect for Gifting or Sharing: Whether you’re hosting a party, attending a holiday gathering, or simply spreading some seasonal cheer, these decorated wafer cookies are sure to impress.
Serving Suggestions:
- Holiday Dessert Tables: Arrange these festive wafer cookies alongside other treats like cupcakes, pies, or chocolates for a stunning dessert display.
- Family Fun Activity: Make decorating these cookies a fun family tradition. Everyone can create their own personalized cookie, adding unique touches for a memorable experience.
- Perfect for Holiday Parties: Serve these cookies as a treat during holiday dinners, gift exchanges, or New Year’s Eve celebrations.
Holiday-themed wafer cookies are a simple yet creative way to make any celebration sweeter. With endless decorating possibilities and flavors to explore, they’re sure to be a favorite at your next holiday event.
Wafer Cookies for Ice Cream Sandwiches
Ice cream sandwiches are a beloved treat that combines two favorite indulgences: crisp, crunchy wafer cookies and creamy, delicious ice cream. Wafer cookies are an ideal choice for ice cream sandwiches, as their light, airy texture perfectly complements the richness of ice cream without becoming soggy. These sandwiches can be customized with a variety of ice cream flavors and toppings, making them the perfect dessert for any occasion. Let’s explore how to create the ultimate wafer cookie ice cream sandwiches and how to elevate them with creative twists!
Why Wafer Cookies Are Perfect for Ice Cream Sandwiches:
The thin, crispy layers of wafer cookies provide a delicate crunch, which balances the smooth, creamy ice cream. Unlike traditional cookies, wafer cookies won’t overpower the ice cream’s flavor, making them a great choice for allowing the ice cream to shine. Their lightness also means that these sandwiches won’t be too heavy, making them perfect for summer treats or casual gatherings.
Choosing the Best Ice Cream for Your Sandwiches:
The key to a perfect wafer cookie ice cream sandwich is selecting the right ice cream. The flavor you choose should complement the light, sweet taste of the wafer, but you can get creative with various flavor combinations. Here are some classic and fun options:
- Classic Flavors:
- Vanilla – Always a crowd favorite, vanilla pairs beautifully with wafer cookies for a simple, timeless treat.
- Chocolate – Rich chocolate ice cream brings a deeper flavor that contrasts nicely with the crispy wafer.
- Strawberry – For a refreshing, fruity option, strawberry ice cream adds a tart sweetness that’s a perfect match with wafer cookies.
- Creative Flavor Combinations:
- Mint Chocolate Chip – The coolness of mint combined with chocolate chips adds a refreshing, crunchy element.
- Cookies and Cream – A popular choice that blends bits of chocolate cookie into creamy vanilla ice cream.
- Coffee or Mocha – A great option for adults, the deep, robust flavors of coffee or mocha are an elegant addition to wafer cookie sandwiches.
- Vegan and Dairy-Free Options:
- Sorbet – A fruit-based sorbet is an excellent option for a dairy-free, light alternative to traditional ice cream.
- Almond Milk or Coconut Milk Ice Cream – These dairy-free options provide a creamy base without the dairy, offering a great variety of flavors.
Step-by-Step Guide to Making Wafer Cookie Ice Cream Sandwiches:
- Prepare the Wafer Cookies:
- Use store-bought or homemade wafer cookies for your sandwiches. If you’re using homemade ones, make sure they are fully cooled and crisp.
- Choose thin, delicate wafers for easy biting, and ensure they’re the right size to hold a generous scoop of ice cream.
- Soften the Ice Cream:
- Remove your chosen ice cream from the freezer about 5-10 minutes before assembling. This softens it slightly, making it easier to scoop and spread, without it being too melty.
- If you prefer a firmer ice cream texture, you can chill the wafer cookies before sandwiching, helping prevent excessive melting when you press the ice cream into the cookies.
- Assemble the Sandwiches:
- Take one wafer cookie and place a scoop of your softened ice cream on top.
- Gently press the second wafer cookie on top to form a sandwich, making sure the ice cream is evenly distributed between the cookies without spilling out.
- If desired, roll the edges in chocolate chips, crushed nuts, sprinkles, or other toppings for extra flavor and texture.
- Freeze to Set:
- Once assembled, place the ice cream sandwiches on a tray lined with parchment paper.
- Freeze for at least 1-2 hours, or until the ice cream is firm. This ensures that the sandwiches hold together when served.
- Serve and Enjoy:
- After freezing, your wafer cookie ice cream sandwiches are ready to serve! They can be enjoyed immediately, or you can store them in an airtight container in the freezer for later.
- For a fun twist, drizzle some chocolate or caramel sauce over the sandwiches before serving for an extra layer of sweetness.
Creative Toppings and Add-Ins for Ice Cream Sandwiches:
Elevate your wafer cookie ice cream sandwiches with these delicious add-ins and toppings:
- Chocolate Chips or Chunks: Roll the edges of the sandwich in mini chocolate chips or broken chocolate chunks for a sweet, crunchy contrast.
- Crushed Nuts: Crushed almonds, pistachios, hazelnuts, or pecans add a nutty flavor and extra texture to the sandwich.
- Sprinkles: Colorful or seasonal sprinkles add a fun and festive touch, especially for parties or special occasions.
- Caramel or Fruit Sauce: Drizzle some homemade caramel sauce or berry compote on the inside or outside of the sandwich for added richness.
- Shredded Coconut: For a tropical flair, roll the edges in sweetened shredded coconut.
Tips for the Perfect Wafer Cookie Ice Cream Sandwich:
- Use Soft Ice Cream: Ice cream that’s too hard will make it difficult to spread between the wafer cookies, and the sandwich won’t hold together well.
- Chill Your Cookies: To prevent the wafer cookies from absorbing moisture from the ice cream, it helps to chill the cookies for a few minutes before assembling.
- Layer Ice Cream Carefully: For the best texture, try to add a thin but even layer of ice cream between the wafers. If you use too much, it will squeeze out the sides when you press the cookies together.
Serving and Storing Tips:
- Store in the Freezer: Keep your wafer cookie ice cream sandwiches in an airtight container to prevent them from getting freezer burn or absorbing odors. They’ll last for up to 2-3 weeks in the freezer.
- Serve on a Hot Day: These ice cream sandwiches are perfect for a summer gathering, backyard barbecue, or after a meal. Serve them as a refreshing and satisfying dessert.
- Individual Portions: If you want to make individual servings, consider wrapping each sandwich in wax paper or plastic wrap to make them easy to serve and store.
Wafer cookie ice cream sandwiches offer the perfect balance of crispy and creamy, making them a fun and customizable treat. Whether you keep them simple with vanilla ice cream or go all out with unique flavor combinations and toppings, these sandwiches are sure to be a hit with everyone.
Conclusion
Wafer cookies are incredibly versatile, offering endless possibilities when it comes to creating delicious and fun treats. Whether you’re baking them from scratch, using them as a base for ice cream sandwiches, or decorating them for special occasions, these light and crispy cookies provide the perfect balance of sweetness and texture. They are simple to prepare, making them an accessible dessert option for both novice and experienced bakers alike.
From classic vanilla wafer cookies to creative holiday-themed designs and ice cream sandwiches, wafer cookies can elevate any dessert experience. Their versatility allows them to be adapted to suit various flavors, occasions, and dietary preferences. Whether you’re preparing a special dessert for a holiday gathering or looking for an easy snack to enjoy at home, wafer cookies deliver satisfying results every time.
Versatility for Every Occasion:
Wafer cookies can be dressed up or down, depending on the event. If you’re hosting a formal dinner, you can create sophisticated, layered wafer cookie desserts with rich fillings and garnishes. On the other hand, they’re just as perfect for casual get-togethers or family picnics, where simple chocolate-dipped or no-bake wafer cookies can steal the show. The options are endless, making them a go-to choice for nearly any gathering or celebration.
Perfect for Personalization:
One of the greatest things about wafer cookies is how customizable they are. With a variety of flavors, fillings, and decorations, you can truly make them your own. Whether you prefer classic combinations or want to experiment with new ideas, wafer cookies are the perfect canvas for creativity. From pairing them with ice cream to rolling them in crushed nuts or sprinkles, the personal touches are what make these treats so special.
Quick and Easy to Make:
In addition to their versatility, wafer cookies are incredibly easy to prepare. Whether you’re a baking novice or a seasoned pro, these cookies don’t require complex techniques or ingredients. They allow you to enjoy the process of baking without the stress of complicated recipes. In fact, many wafer cookie recipes are no-bake or require minimal preparation, making them ideal for busy bakers or those who prefer quicker dessert options.
A Treat for All Ages:
Wafer cookies are a hit with people of all ages. Kids love the crunchiness and the fun of decorating them, while adults appreciate the lightness and simplicity of the flavor combinations. Whether you’re making them for family, friends, or special occasions, wafer cookies bring joy to everyone.
Make Them Your Own:
The beauty of wafer cookies lies in their simplicity and adaptability. You can tailor them to suit your tastes, whether you prefer rich, indulgent treats or lighter, fresher versions. You can experiment with different fillings, toppings, and flavor combinations to match the season, occasion, or your personal preferences. The more you explore, the more possibilities you’ll uncover for creating your perfect wafer cookie treat.
Final Tip:
If you’re looking for a fun and delicious way to impress guests or make a quick and satisfying dessert, wafer cookies are the way to go. With so many creative options to choose from, you’re sure to find a wafer cookie recipe that will become a favorite in your dessert repertoire.
In conclusion, wafer cookies are a delightful, versatile, and easy-to-make treat that can suit a variety of occasions and tastes. Whether you’re enjoying them as a simple snack, incorporating them into ice cream sandwiches, or using them to create festive holiday desserts, wafer cookies are a sweet addition to any baking list. Don’t be afraid to experiment and make them your own – after all, dessert is all about enjoying the process and the reward!